Alright, it’s finally getting a little bit warmer around here as spring comes and goes, so let’s celebrate by jumping into the pool! That’s right, today we’re going to be talking about an ever-important pattern in game development, the concept of Object Pooling. Object Pooling is a design pattern which involves creating a set of objects – a ‘pool’ – and reusing those objects, rather than creating/destroying objects throughout a game.

Object Pooling involves recycling objects
This is a very important concept in game development, and it’s the first topic we’ve reached that is almost entirely associated with the optimization of a game. For mobile game developers, resources are limited, so it’s important that we don’t waste anything. Object pooling helps us save resources, and is less of a mechanic, and more of a general design pattern. We used it in Where Shadows Slumber, but it isn’t even one of the more defining features of the game. However, it’s still an incredibly important concept.
So, without further ado, let’s dive in!
Why do we need Object Pooling?
Unity is a pretty cool system, and it gives you some pretty cool toys to play with. Two powerful toys it gives you are Instantiate() and Destroy(), which allow you to create a new instance of a GameObject, and to get rid of an instance of a GameObject, respectively. I assume that other game engines provide similar functions. If you’ve played around with some simple stuff in Unity, you might have seen how useful these functions can be.
The problem with Instantiate() and Destroy() comes when we try to use them a lot. You see, every time you call Instantiate(), Unity goes into your memory, finds a chunk of memory big enough to store the new object, and allocates it. Conversely, every time you call Destroy(), Unity finds that object in memory, clears it out, and marks that memory as ‘available’. This whole process is aided by the use of a garbage collector, which runs occasionally, making sure that deleted things were actually deleted.
Those of you familiar with computer science may see where I’m going with this. Basically, this isn’t great. Calling Instantiate() or Destroy() every once in a while is fine. But when you call them all the time, Unity starts to slow down. Memory allocations and deallocations are somewhat expensive, meaning the garbage collector will be running a lot, sucking valuable power away from your game! Every time the garbage collector runs, your game might lag a tiny bit. This is doubly true for environments where resources are limited (say, on a mobile device).
So, our clever brain gets to work. ‘Hmm’, it says, ‘if calling these functions is bad, let’s just not call them!’ Brilliant, brain, as usual! Surprisingly, in this case, the first idea that pops into our head is actually pretty good – we just won’t use Instantiate() or Destroy(). Problem solved!
The only remaining question is how to maintain the functionality we had before. We were, for example, using a gun, and every time we fired, we would instantiate a bullet. Every time the bullet hit something, we would destroy it. How can we get that same functionality without using Instantiate() or Destroy()?
Object Pooling
The answer to the above questions is, obviously, to use object pooling. The concept is pretty simple – rather than creating a new bullet every time we fire our gun, and then destroying every bullet individually, why don’t we just reuse the bullets? They all look the same, so no one will know the difference!
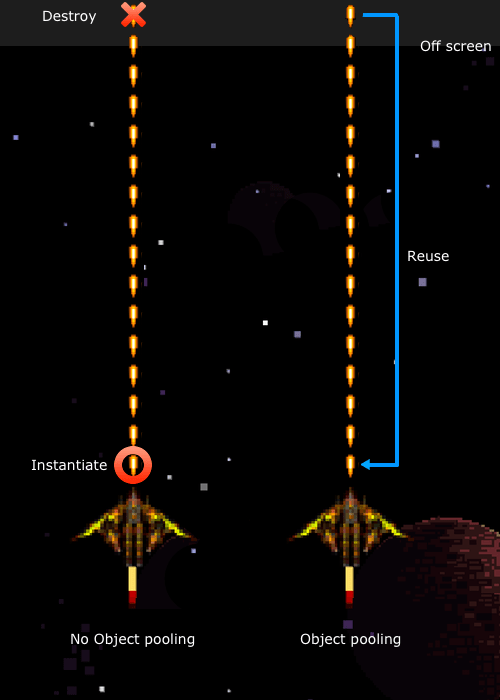
Object pooling in a space shooter (image credit: raywenderlich.com)
This is the idea behind object pooling. Rather than creating and destroying a bunch of bullets every frame, which can get expensive, we simply create a bunch of bullets at the beginning of the game, and reuse them. We store all of the bullets in a ‘pool’ – they’re all deactivated and unmoving, so they have no effect on the game. Then, every time we fire the gun, we grab a bullet from the pool, change its position and velocity so it looks like it’s coming from the gun, and enable it. The bullet flies through the air, and then strikes a wall, or moves off of the screen. At this point, we simply disable the bullet and return it to the pool to be used again!
If this seems a little weird, think of it like extras in a TV show or movie. In the first scene, we need a crowd, so we hire a bunch of actors to be people in the crowd. The next scene is in a different city, but still needs a crowd. Do we fire all of the extras we already hired, and then spend more time hiring different extras? Well, nobody was really paying too much attention to the extras in the first scene – let’s just use them again for the second scene! This is pretty common in TV and movies, and there’s no reason we can’t do the same thing here.
“I gave a very memorable performance as the nurse, and now, suddenly, I’m the waitress? That’s gonna confuse my fans!”
– Phoebe Buffay, Friends
Using object pooling, we can avoid the need for our expensive allocation/deallocation functions (other than at the beginning/end of a level, where slowness is more acceptable) by reusing all sorts of objects. There is a tradeoff here – using an object pool means that, whenever we need a bullet (or any object), we have to be sure that there will be one in the pool. This means that we actually need to store more copies of the object than we ever expect to use. While object pooling makes it easier for the CPU to keep up with what we’re doing, it uses up more memory.
This is called the space-time tradeoff, and it’s pretty common in computer science. The idea is that, in order to optimize for time (make your code run as fast as possible), it generally uses up more space (in the form of RAM). In this case, time refers to time spent in the CPU – saving time means less lag, which makes for a better game. In general, on mobile platforms at least, saving time it more important, so this is a tradeoff we’re happy to make by using object pooling.
Where Shadows Slumber
So, how did we use object pooling in Where Shadows Slumber? We don’t have any bullets, so what else can object pooling be used for?
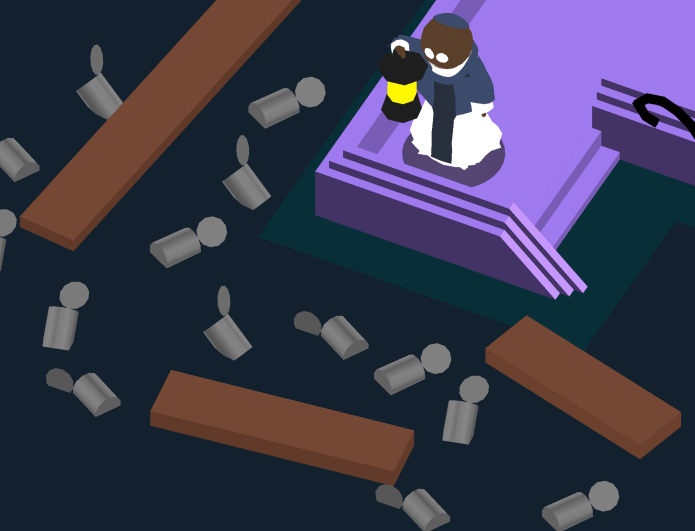
Honestly, object pooling wasn’t incredibly important to the core game – all of our levels are pre-made and we don’t have any projectiles or anything else flying around. Where we did use object pooling was in ‘special effect land’. Every time the main character takes a step, a small sound plays, and in some levels you can see a puff of sand behind him. These are what we have taken to calling footfalls, and they’re one of the main things we used object pooling for.
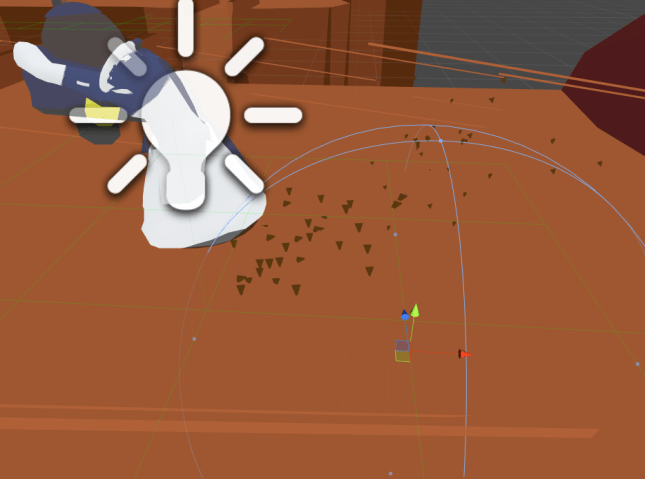
This group of particles is a footfall, and was pulled from a pool rather than instantiated!
In fact, sometimes you may have used object pooling without even realizing it! You see, one of the primary uses for object pooling is within particle systems. A particle system may emit a burst of hundreds of particles at once. Imagine trying to instantiate that many object in the same frame – your game would lag for sure! However, if the particle system uses object pooling, it will simply enable all of those objects, and your game will keep running without a hitch. This allows you to get high-quality particle effects without having to worry too much about the impact on performance.
Hopefully this quick conceptual intro to object pooling helps you out, and saves you many CPU cycles! I should mention that I got an image from this blog post on object pooling, which coincidentally is a very good resource if you want to get a good look at an implementation of object pooling.
= = = = = = = = = = = = = = = = = = = = = = = = = = = = = = = = = = = =
If you have any questions or comments about object pooling (or anything else), you can always find out more about our game at WhereShadowsSlumber.com, find us on Twitter (@GameRevenant), Facebook, itch.io, or Twitch, and feel free to email us directly with any questions or feedback at contact@GameRevenant.com.
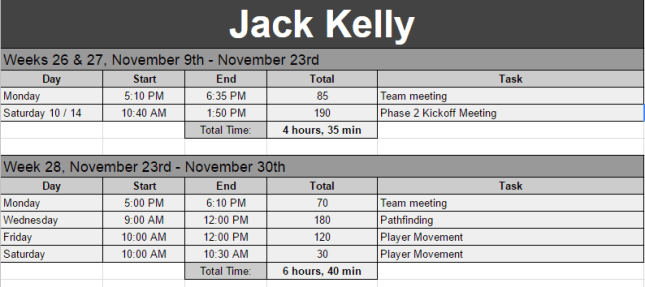
Jack Kelly is the head developer and designer for Where Shadows Slumber.